Metropolitan Car-o-liner announces new Safety Inspection and Maintenance Program.
You have made a substantial investment in necessary equipment to run a successful business. This equipment must stay operational to allow for maximized production.
Our customers have been asking us for a safety inspection and basic maintenance program repeatedly throughout the last several years. Safety Inspection and Maintenance Programs are widely used in many manufacturing and repair oriented businesses and are found to save thousands of dollars lost due to equipment down time. This down time is often due to lack of maintenance or minor repairs that turn into major failures.
Most of the time we have seen routine maintenance ignored or forgotten when technicians who are focused on their production are tasked with these duties. As a result, we have created this Safety Inspection and Maintenance Program to take the burden off of you and your technicians and insure that your Car-O-Liner equipment has regular safety inspections and periodic maintenance.
Enclosed is a list of the operations that will be checked or maintained for each Car-O-Liner product that our factory-trained service technicians will inspect as part of this program. You will receive a printed Inspection Report at the time of service.
Upgrade to a scheduled inspection plan! Let us schedule a return visit every 12, 6 or 4 months with an annual inspection agreement and get discounted rates for each visit and service parts.
Please contact our office at 800-526-0318 for more information or to schedule your Safety Inspection and Maintenance Program appointment!
Click on each + section below to view the checklists
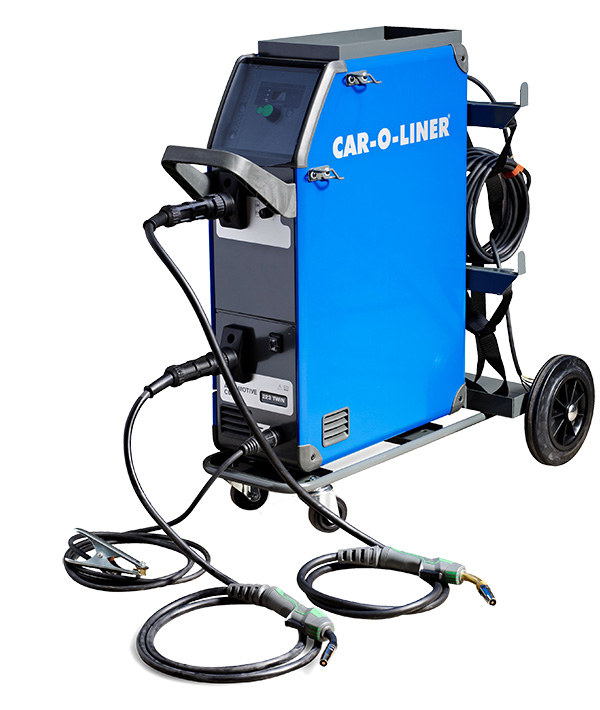
- Check Software Version
- Power cord & hoses
- TORCH #1 CONDITION
- Trigger test
- Wire liner
- Tip adapter
- Contact tips
- Gas diffuser / spring
- Gas nozzle
- Correct wire wheels & tension
- Wire speed test
- Flowmeter / regulator condition, settings
(Test for accurate flow with gauge) - Wire in correct positions
(Steel vs. Aluminum)
- TORCH #2 CONDITION
- Trigger test
- Wire liner
- Tip adapter
- Contact tips
- Gas diffuser / spring
- Gas nozzle
- Correct wire wheels & tension
- Wire speed test
- Flowmeter / regulator condition, settings
(Test for accurate flow with gauge) - Wire in correct positions
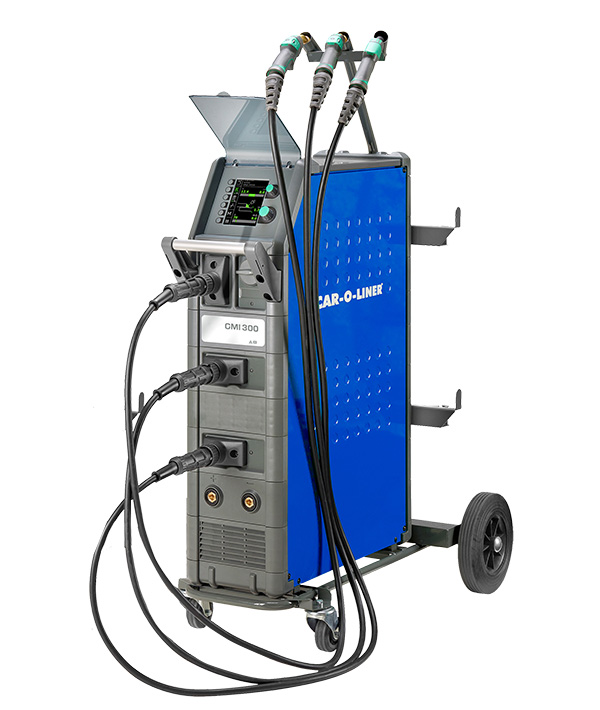
- Perform calibration test (1-point test)
- Check all sensor functions
- Check length measuring head is free
- Check general slide condition, hood, bumpers, wheels
- Check key pad functions
- Measuring tubes
- Missing
- Bent
- Check bridge
- Check visible condition of scales
- Perform scale test
- Check bridge straightness
- End stops present
- Check bridge supports
- Check all measuring parts, missing / updated
- Battery
- Condition
- Age
- Check upper body device condition
- Add bridge protective cover if desired (additional cost)
- Add cabinet cover if desired (additional cost)
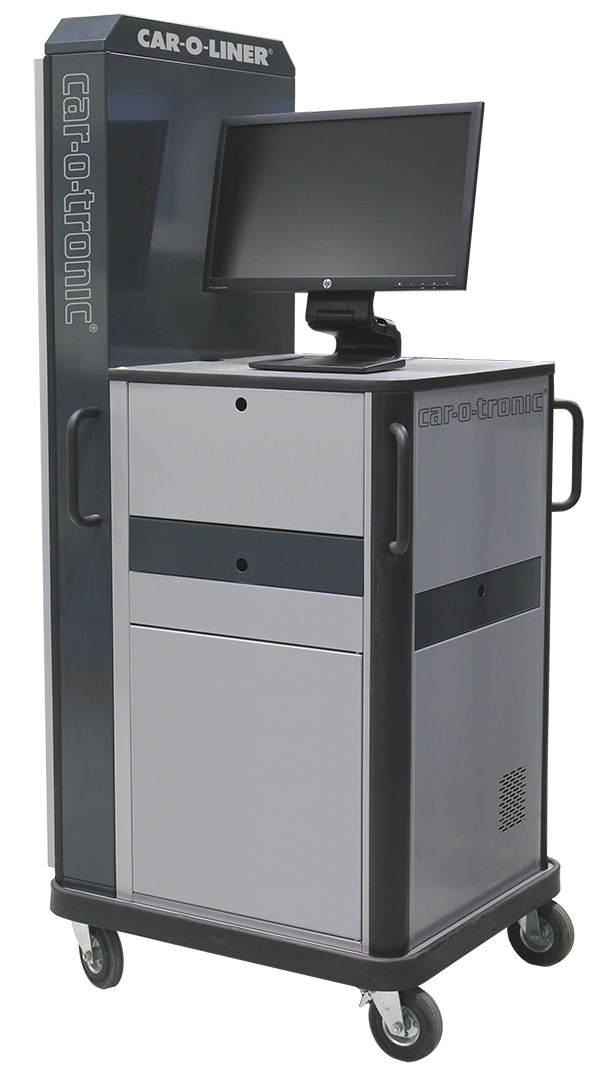
- Software subscription remaining
- Car-O-Liner Software version
- Computer condition
- Windows operating system
- Internet connected

- Check machine anchoring bolts (tighten if necessary)
- Check benches for Drawalinger height (adjust if necessary)
- Check tilt function working properly (adjust if necessary)
- Check clamp bolt condition (lubricate)
- Check Clamp jaws, missing or broken (clean)
- Check quantity & condition of camlocks (lubricate)
- Check hydraulic line condition
- Check air safety function
- Check rollers & axle condition
- Snap ring present
- Check for debris in lift area (clean if necessary)
- Check ramps condition (clean tracks)
- Check power unit operation & condition
- Check pendant condition
- Check pendant cord condition
- Check emergency stop switch operational
- Check hydraulic fluid level in power unit (add if necessary)
- Add landing pads if desired (additional cost)
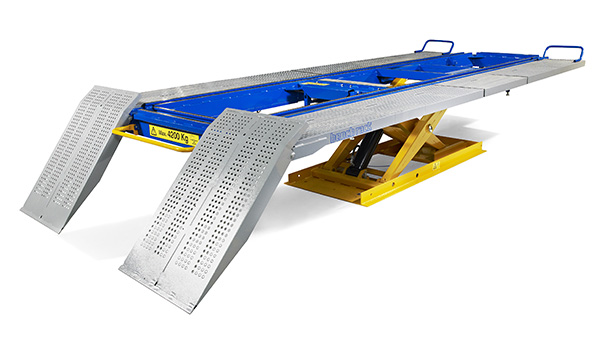
- Check hydraulic cylinder condition
- Check hydraulic lines & connection
- Check pump condition, (lubricate)
- Check air inlet tightness
- Gasket
- Pedal
- Reservoir
- Check fluid level (add if necessary)
- Bleed air from hydraulic system
- Check wheels condition
- Check condition & quantity
-

- Check for missing parts
- Check for necessary updated parts
- Check quantity & condition of camlocks (lubricate)

- Verify latest software
- Clean and dress C-Arm Slots
- Remove dust build up from interior of welder
- Check C-Arm retaining clips
- Tighten all bolts to specification
- Check torque in transformer Allen bolts
- Check machine set to proper voltage
- Verify measurement calibration
- Verify temperature measurements
- Flush and replace coolant if necessary (coolant additional cost)
- Measure coolant flow
- Attach all C-Arms to check for leaks at distributor blocks
- Inspect main power cord
- Inspect electrical plug
- Tighten connections
- Test welder squeeze pressure
- Check piston electrode movement
- Check C-Gun black front cover and spring
- Lubricate C-Gun air chambers
- Test welder squeeze pressure (again)
- Check gun swivel ring threads, replace handle with knob, lubricate ball bearings
- Inspect welding cable to gun connector
- Check hood for missing screws
- Inspect electrode o-rings and replace as needed
- Check electrode cooling tubes
- Change welder air filter
- Install longer screws in handle plate
- Change electrode box label if needed
- Test welding current output
- Perform Check EL
- 40 test welds
- Check Supply of replacement weld caps (additional cost)
- Check for welder dust cover present (additional cost if desired)
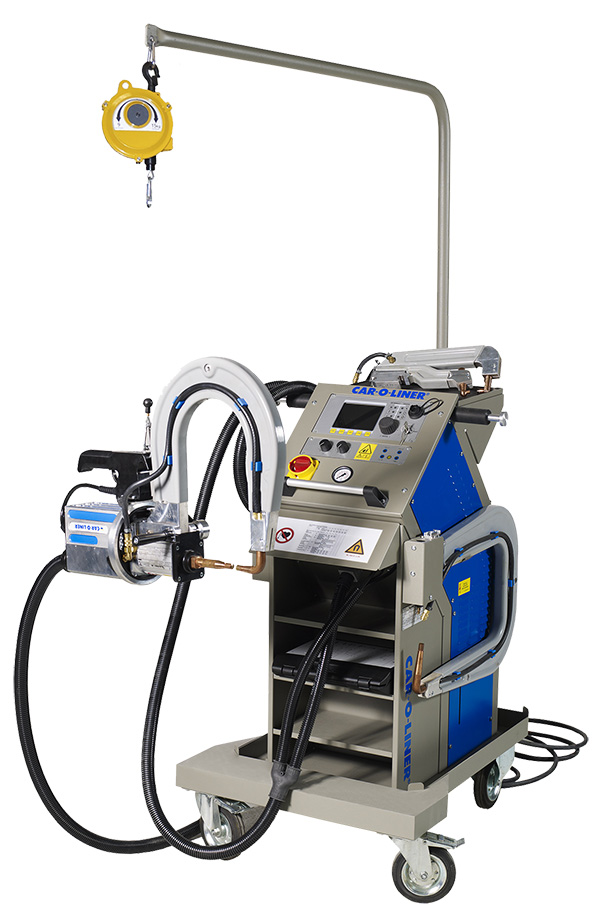
- Verify latest software
- Clean and Service C-Arms and Pocket
- Remove dust build up from interior of welder
- Check C-Arm Retainer Tension
- Tighten all bolts to specification
- Check torque in transformer Allen bolts
- Check machine set to proper voltage
- Verify Current Calibration and Recalibrate if Necessary
- Verify temperature measurements
- Check Coolant Condition & Level; Flush and Replace if Necessary (Coolant not included in price)
- Measure coolant flow
- Attach all C-Arms to check for leaks at distributor blocks
- Inspect main power cord
- Inspect electrical plug
- Tighten connections
- Test welder squeeze pressure
- Check piston electrode movement
- Check C-Gun black front cover and spring
- Lubricate C-Gun air chambers
- Test welder squeeze pressure (again)
- Check gun swivel ring threads, replace handle with knob, lubricate ball bearings
- Inspect welding cable to gun connector
- Check hood for missing screws
- Inspect electrode o-rings and replace as needed
- Check electrode cooling tubes
- Change welder air filter
- Install longer screws in handle plate
- Change electrode box label if needed
- Test welding current output
- Perform Check EL
- 40 test welds
- Check Supply of replacement weld caps (additional cost)
- Check for welder dust cover present (additional cost if desired)
- Lubricate Air Chamber
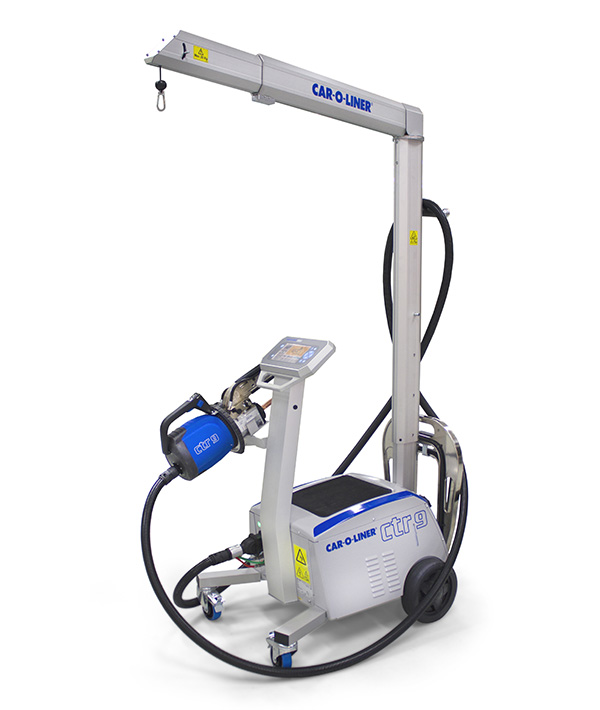
- Verify latest software
- Clean and dress C-Arm Slots
- Remove dust build up from interior of welder
- Check C-Arm retaining clips
- Tighten all bolts to specification
- Check torque in transformer at distributor blocks
- Check machine set to proper voltage
- Verify temperature measurements
- Flush and replace coolant if necessary (coolant additional cost)
- Measure coolant flow
- Attach all C-Arms to check for leaks at distributor blocks
- Inspect main power cord
- Inspect electrical plug
- Tighten connections
- Test welder electrode movement
- Check piston electrode movement
- Check C-Gun black front cover and spring
- Lubricate C-Gun air chambers
- Test welder squeeze pressure (again)
- Check gun swivel ring threads, replace handle with knob, lubricate ball bearings
- Inspect welding cable to gun connector
- Check hood for missing screws
- Inspect electrode o-rings and replace as needed
- Check electrode cooling tubes
- Install longer screws in handle plate
- Test welding current output
- Perform Check EL
- 40 test welds
- Check Supply of replacement weld caps (additional cost)
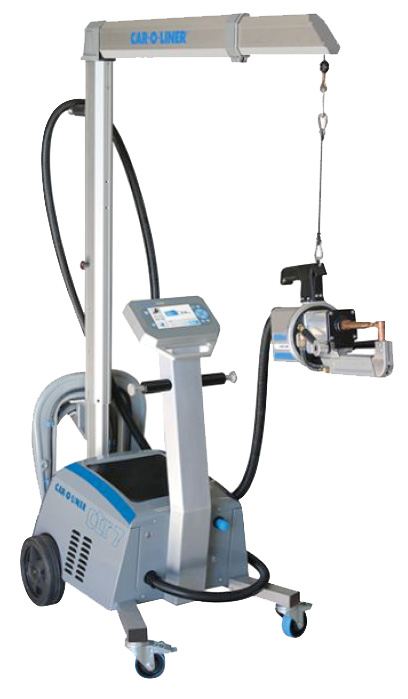
- Serialized handle
- Main Cable
- Spot net board
- Pulse sonar